Hi there, friends! I would like to share with you two cards that I created after my lesson in the Polychromatic course with Nina-Marie Trapani from the Altenew Educator Certification Program.
For the first card, I was inspired by lesson three with Nina, Faux Hand-Watercolored Effect. This card features the Altenew Build-A-Flower Camelia Japonica Layering Stamp & Die Set.
I used one of the floral layering images and inked up the image with Alpine Aster and Crystal Violet. Nina uses Zig markers in the lesson, which I do not have, so I used ink pads and dabbed them onto the stamp. I then lightly spritzed it with water. I then stamped it in the center of a panel of Canson XL watercolor paper. It worked just as well, so always use what you have on hand. I did the same with the leaves, stamping them in Eucalyptus and Forest Fern Fresh Dye inks.

The sentiment was directly stamped onto the panel with Versafine Onyx Black ink. I covered up the sentiment with a piece of scrap paper, and then splattered Crystal Violet and Charcoal Suit onto the panel for added interest.

I cut out the panel using Pinkfresh Studio Blanket Stitched Rectangle Dies and adhered it to an A2 card base. Blue sequins added a finishing touch to the card.

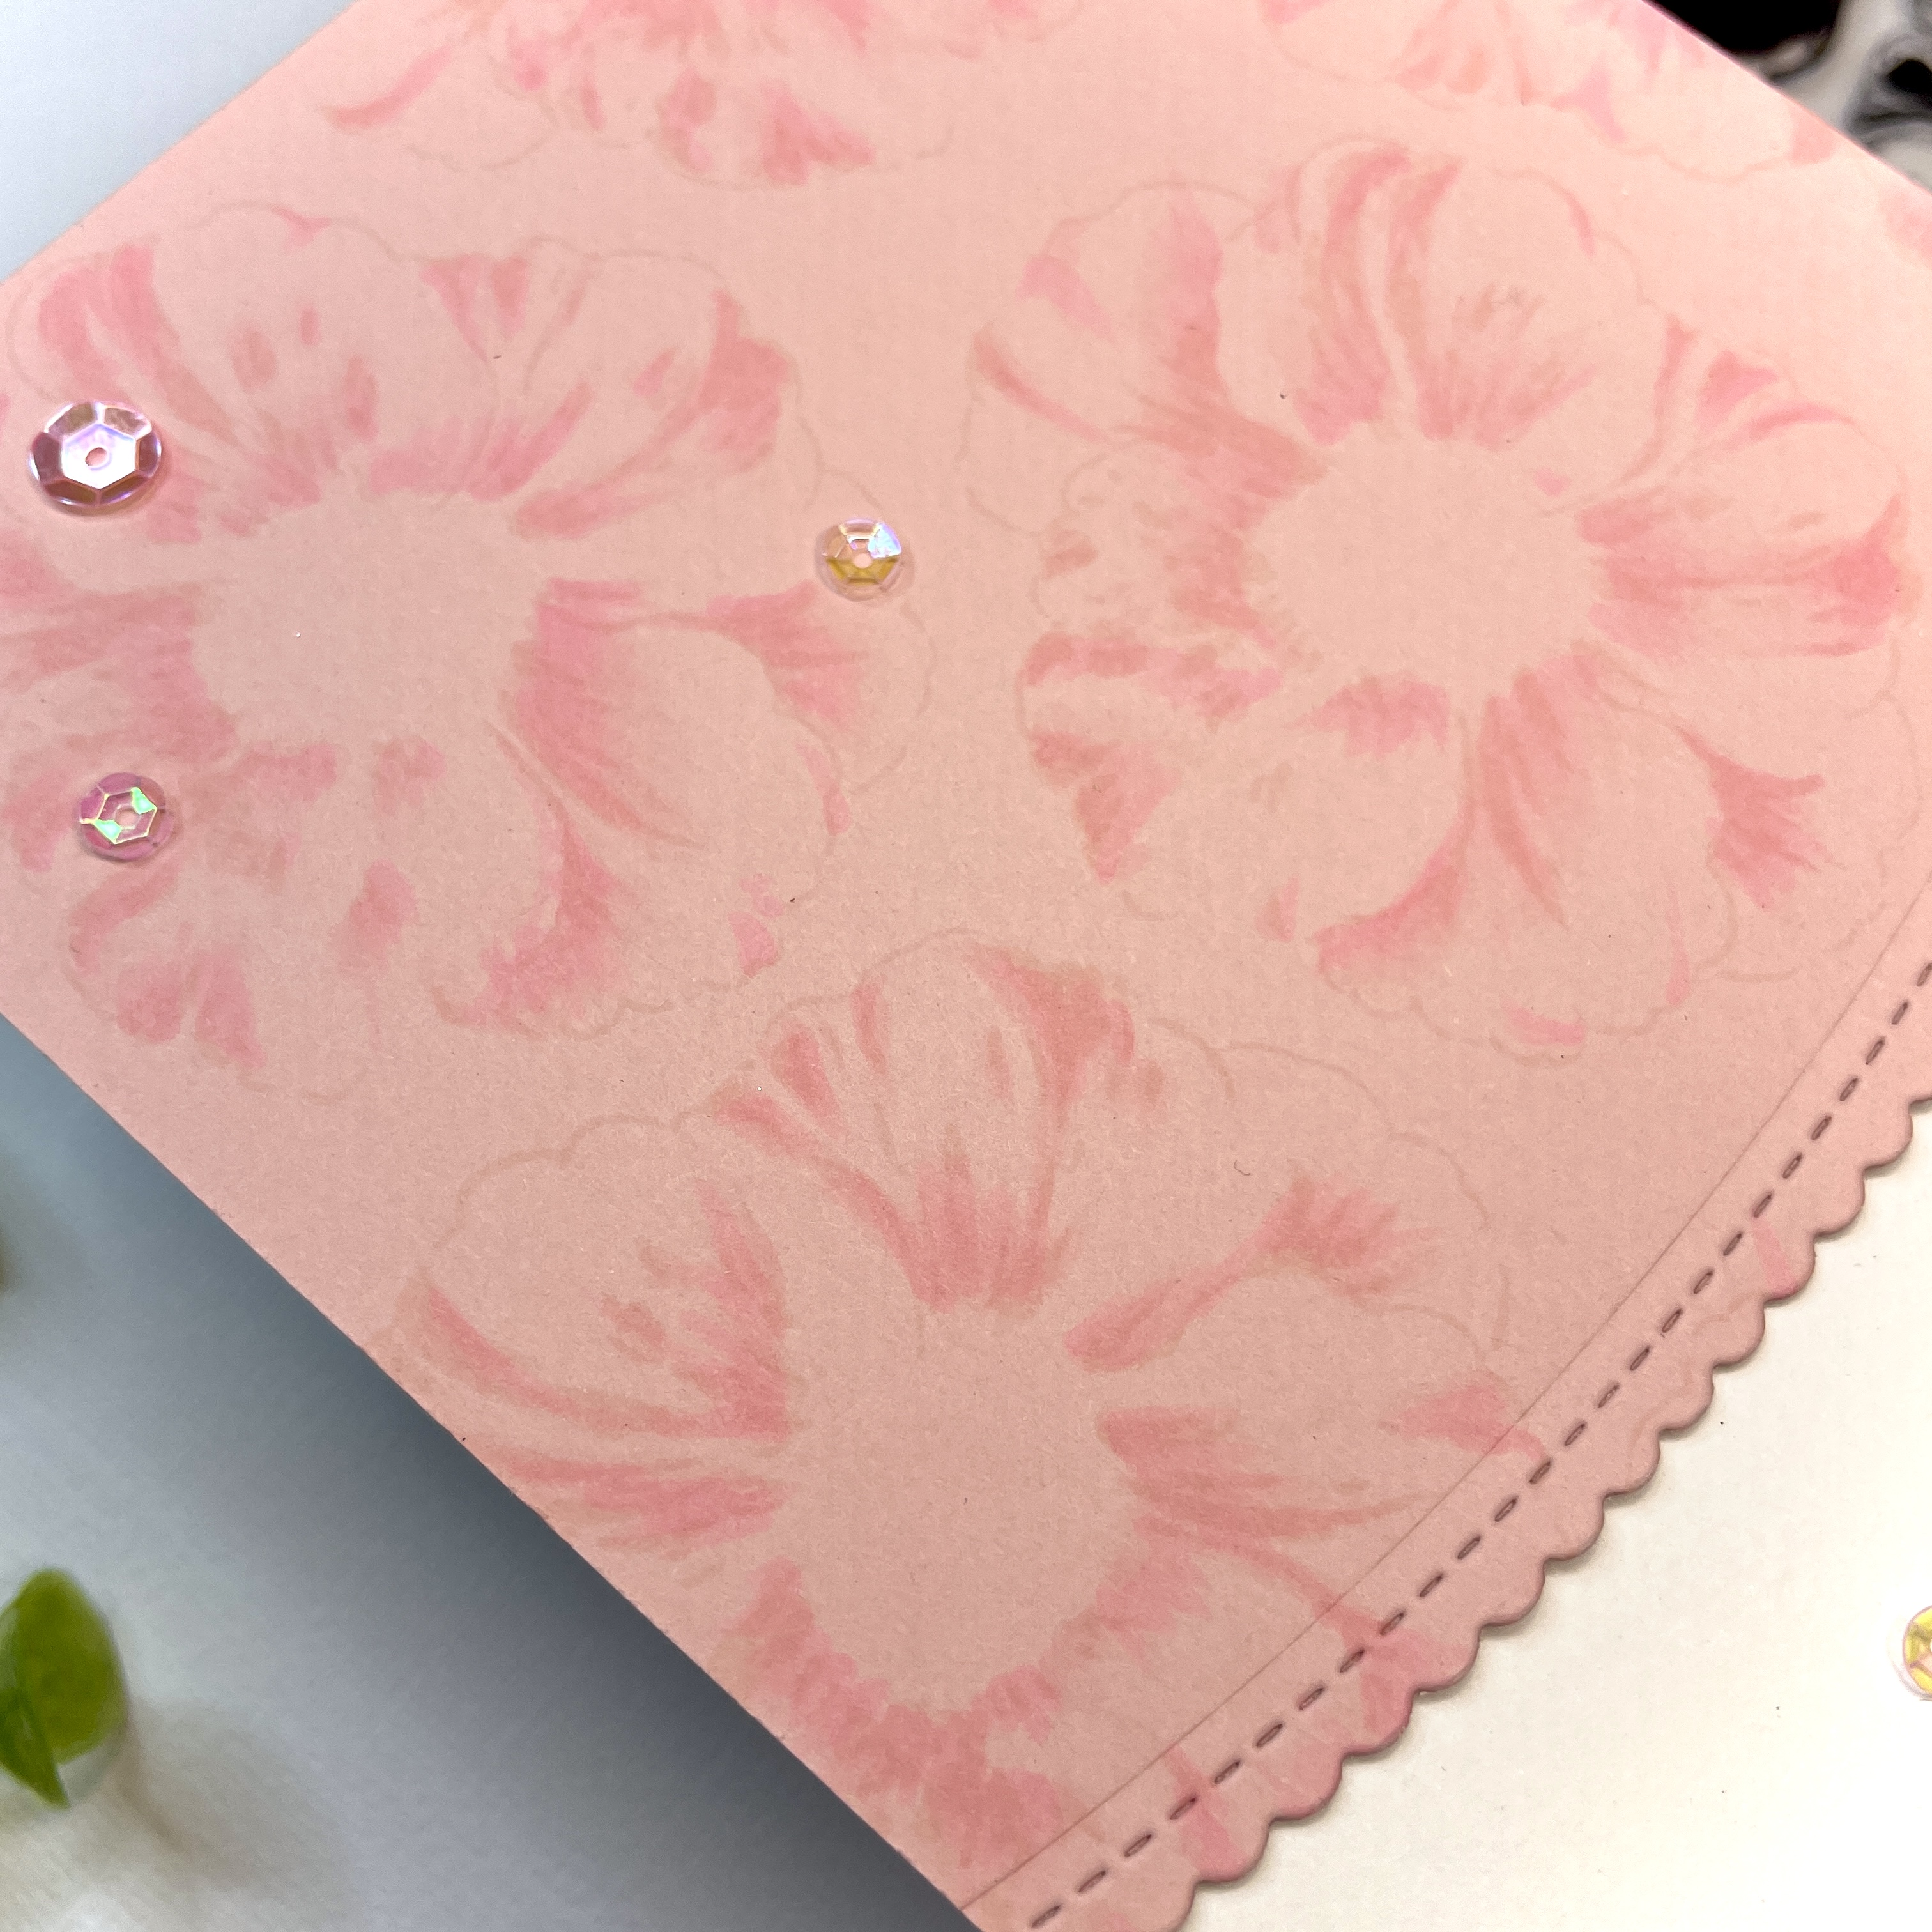
For my second card, I was inspired by lesson 2, Monochromatic Colors. I used the Altenew Queen Anemone to create this card. I began stamping one of the floral layering images with Altenew Blush Fresh Dye ink. I stamped it onto a pink panel, creating a floral background. I used a few Copic markers in the lightest shades (RV000, RV02, and RV10) and tested them before using them as Nina recommended, and I was satisfied with the result.

I cut the panel using a scalloped stitched border die and then adhered it to a white A2 card base. The sentiment was cut from the Altenew Versatile Greetings Die Set, which was cut on pink glitter cardstock. I cut it twice, then glued them together for dimension, and then adhered them to the panel with glue. I added a few pink sequins to complete the card.
I am absolutely thrilled with how this card turned out, and I will definitely be making a few more using this fun technique.

I appreciate you stopping by and sharing this wonderful journey with me. Until next time, have fun crafting.
CHALLENGES:
SSS Wednesday Challenge - Add a Sentiment
Word Art Wednesday - #661-662
Polkadoodles - WK33
Penny's Paper - #578
Crafty Gals Corner - #258 AG
Di's Digi Challenge - CAS
Color Dare - #614 blue, purple, green & black (sentiment)

Beautiful stamping on both your cards. Thanks for joining us at penny’s paper crafty challenge Clare GDT.x
ReplyDeleteAbsolutely beautiful cards, Carriane!
ReplyDeleteThanks a bunch Erum!! Another fun course!
DeleteBoth cards are beautiful. I love the colors and the effect you got in the first card. Thank you for sharing at the Polkadoodles challenge.
ReplyDeleteLove the colors chosen for both cards, especially the soft watercolor effect on your purple card. Thank you for joining us at Color Dare! -HM
ReplyDeleteYour cards are wonderful and very creative. thanks for linking up with us over at Crafty Gals. Best of luck, Jana DT
ReplyDelete